Add Users Wizard
You use the Add Users Wizard to add a user readiness record. You open the Add Users Wizard by clicking Add Users on the User Readiness view.
The Add Users Wizard consists of the following panels:
Select Catalog Item Panel
On the Select Catalog Item panel of the Add Users Wizard , you select the catalog item to which you are adding a user readiness record.

Select a catalog item from the Select a catalog item list and click Continue .
User Readiness Panel
On the User Readiness panel of the Add Users Wizard , you select the users to which you are adding a user readiness record.
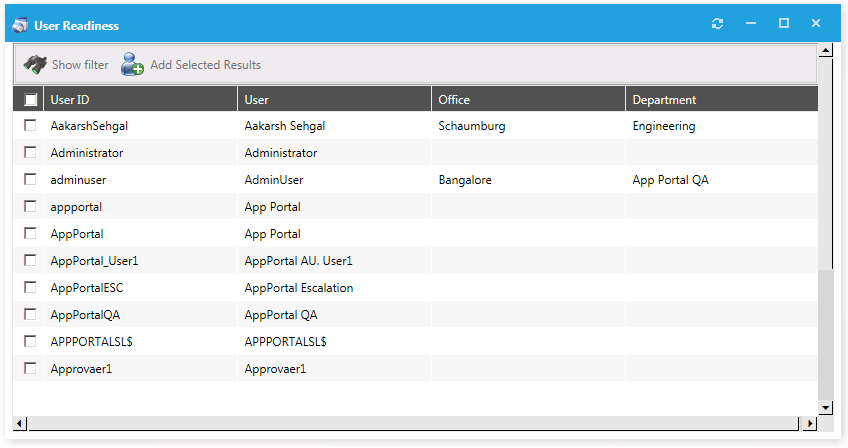
Select the desired users and then click Add Selected Results . You are prompted to confirm that you want to import records.
You can also click Show filter to filter the user list using expressions on the Filter Builder dialog box.
Calendar Panel
After you have added users to a user readiness record on the User Readiness panel of the Add Users Wizard, the Calendar panel opens.
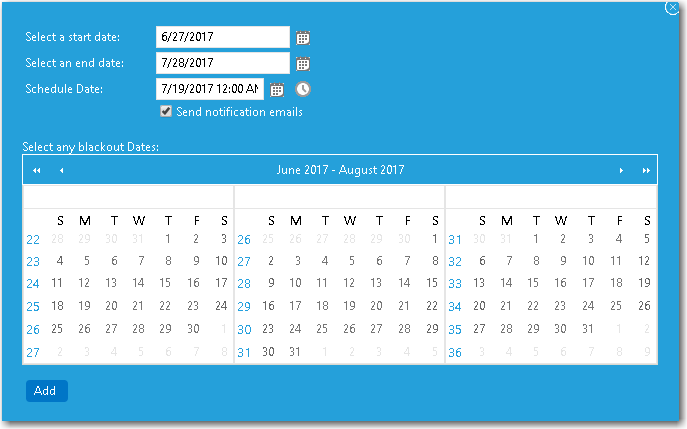
Select a date in the Select a start date and Select an end date fields to define the deployment period. You can also select a recommended Schedule Date (optional), and select any desired Blackout Dates within this deployment period during which deployment would not be permitted.
If you want to communicate this information to the specified users, select the Send notification emails option.
You can edit and customize the notification email template on the Site Management > Communication > Notifications view.
When you have finished defining the deployment period, click Add . The User Readiness panel is displayed. Next, close the User Readiness dialog box to return to the User Readiness view.